It is important to keep your home safe and in a state of good repair.
Below are some hints and tips to help you deal with common home repairs that you are responsible for fixing and are not covered by Great Places’ repairs service.
This information is designed as a guide only. If you do not feel confident about carrying out these repairs yourself then we recommend you contact a suitably qualified tradesperson. Great Places cannot take responsibility for any damage caused to you or your home in trying to carry out these repairs.
If you have a new home, our Home User Guide has helpful hints and tips to solve minor issues:
If your fuse box keeps tripping it means you have a faulty electrical item or wiring somewhere in your home. Working out what is wrong is a process of elimination, and you can often do this by following these simple steps:

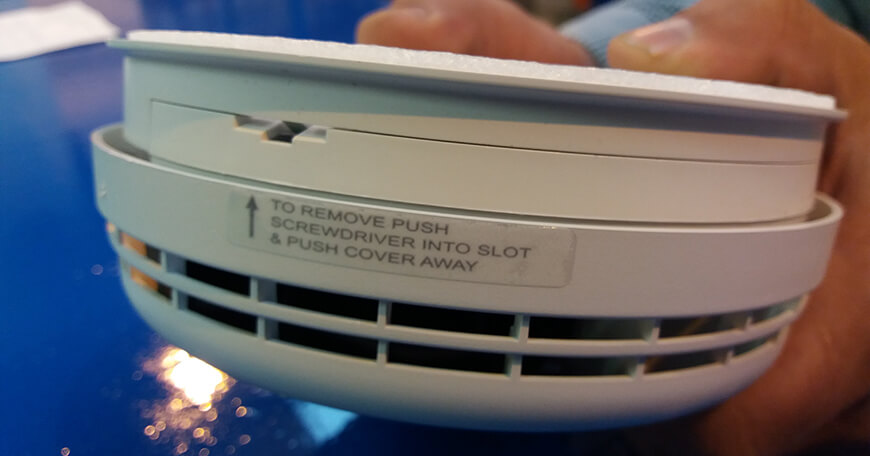
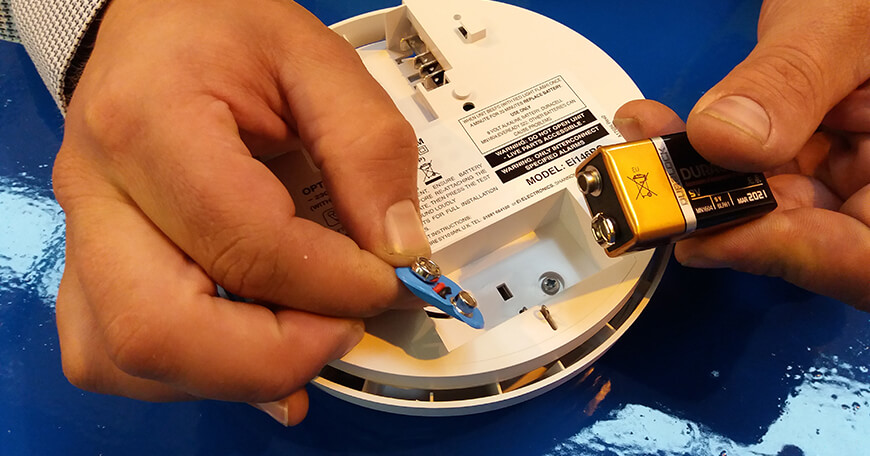
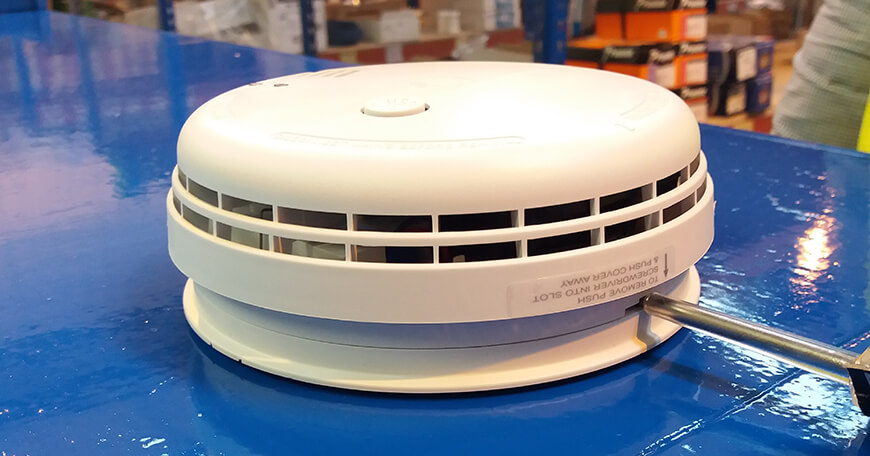
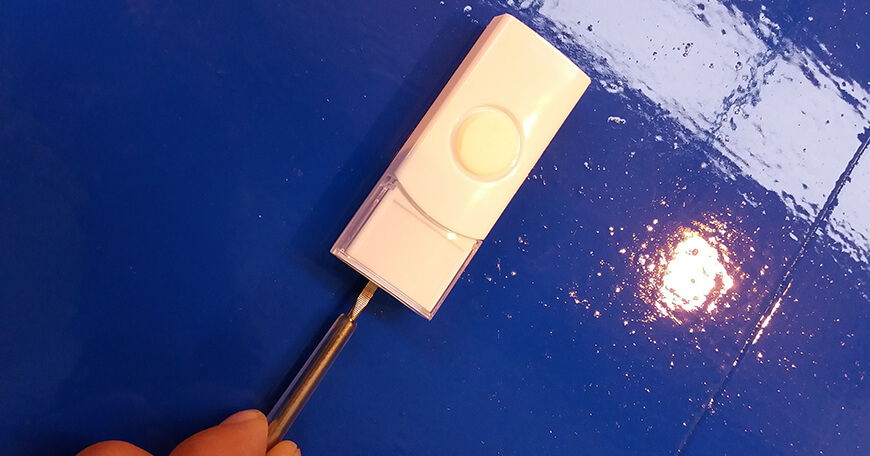
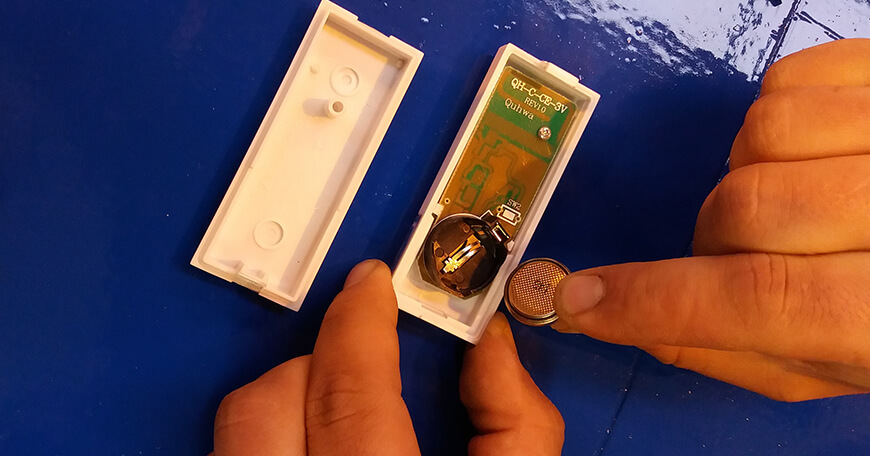
Smoke detectors can be battery-powered or wired into the mains. But nearly all smoke detectors, including those that run on household current, contain a battery (they use this battery to provide backup power in a fire).
Smoke detectors with fully-functional batteries are critical to the safety of your family and home so if you hear beeping or chirping from your alarm it means the battery is low. Do not ignore this. Change the battery immediately. Do not ever remove the battery without replacing it with a new one.
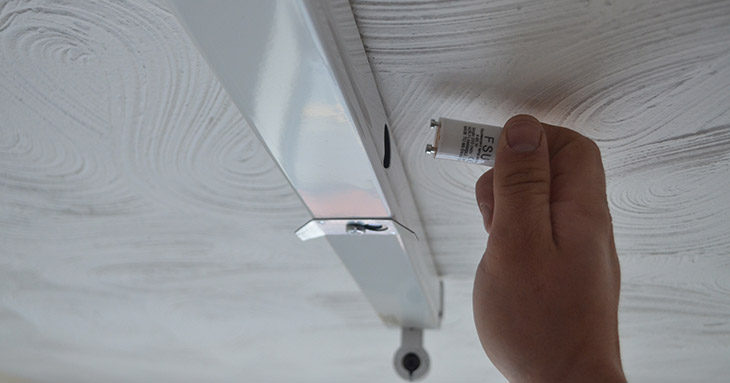
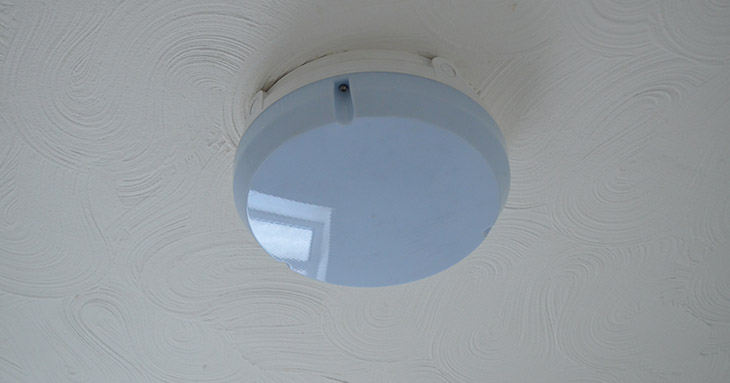
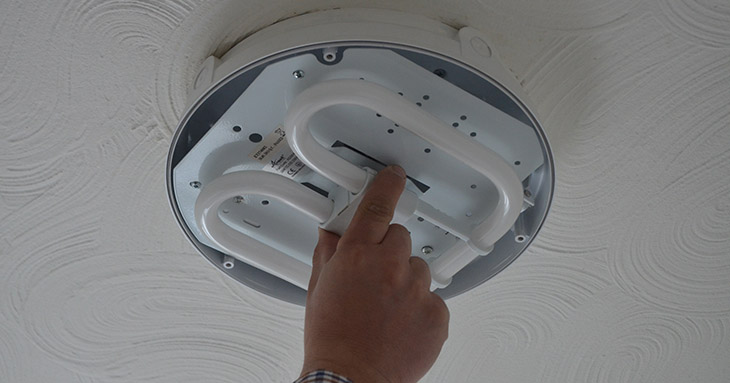
Changing the light bulbs in your home is your responsibility. Great Places will only attend if the bulb has been changed and we have identified a faulty light fitting. A re-charge can be added to your account if we are called out and the problem is a faulty bulb.
You can purchase replacement bulbs from DIY, hardware stores and supermarkets. Follow these tips to change them safely.
If you do not feel confident to change these yourself then we recommend you contact a suitably qualified tradesperson.
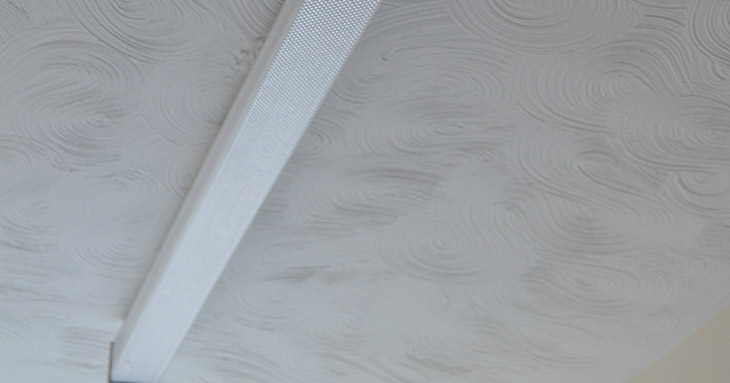
If your light isn’t coming on or is flickering/coming on intermittently, then your bulb needs replacing or you may need to install a new starter motor.
You may have an enclosed light fitting in your bathroom. We have to fit these lights to meet current electrical regulations and they are fitted as standard on new build properties. We replace any faulty bathroom pendants with these new fittings in all our other properties too.
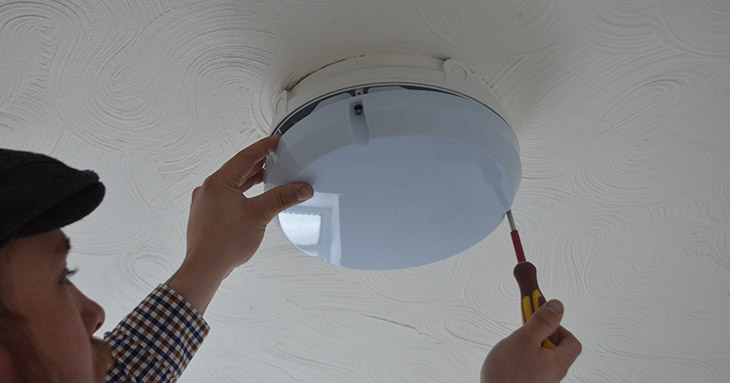
Turn off the light switch (if you want to be extra careful turn off the lighting fuse on your fuse board too).
You can also search YouTube for videos that show you how to change bulbs.
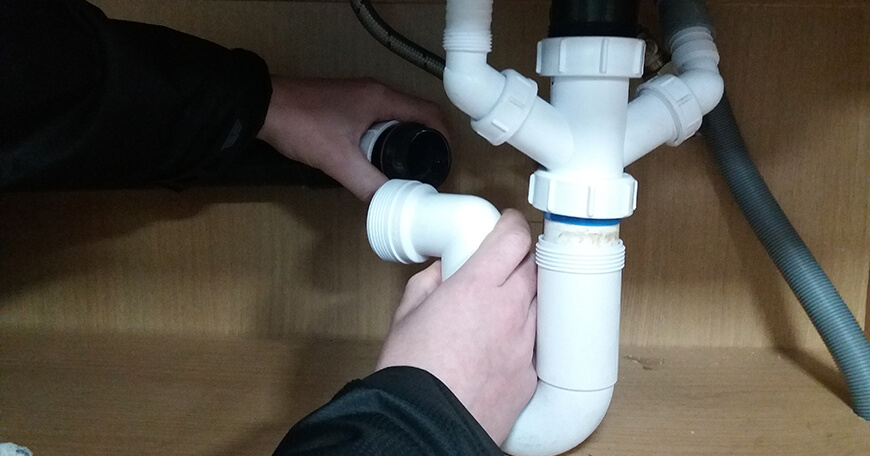
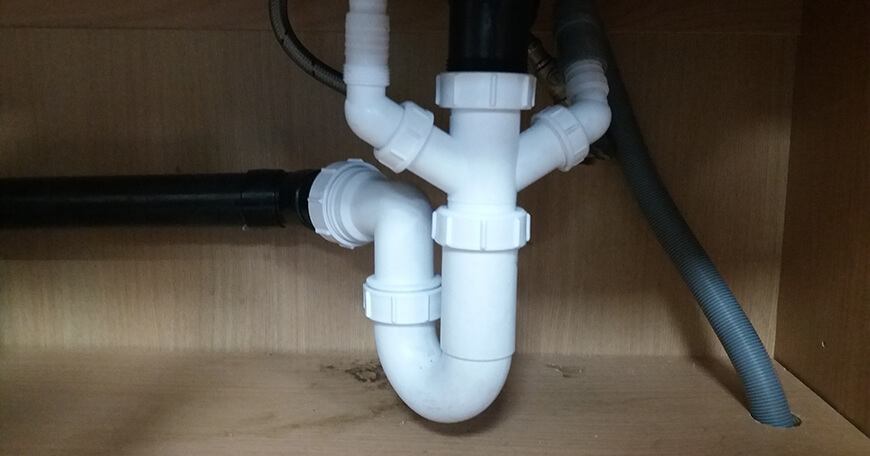
If you know what’s blocking the toilet – and you think you can dislodge it manually – use your gloved hands to do so. If you manage to remove the blockage, be sure to complete step two to flush debris down the drain. Your toilet’s function should return to normal.
Unblocking toilet pipes can be as simple as pouring hot water into the toilet bowl from a height. The hot water should help dissolve blockages and gravity will push water harder through the pipes than a normal flushing process. Be careful not to scald yourself.
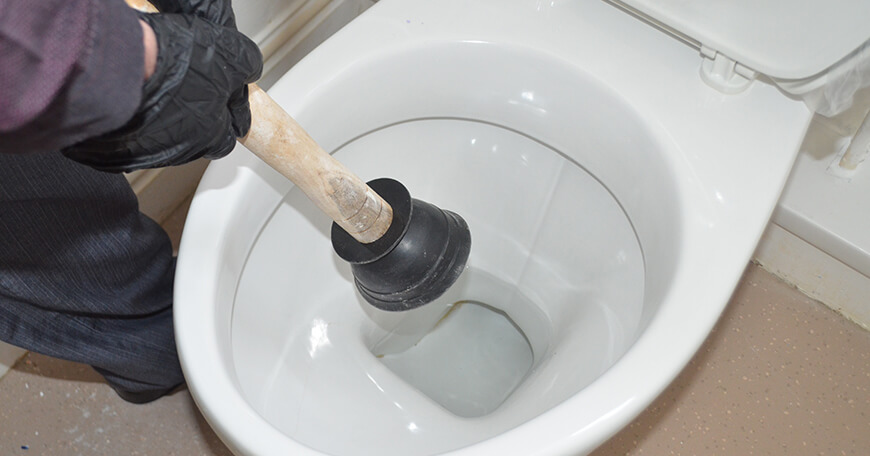
Everyone knows you can unblock toilet pipes with a plunger, but did you know there are different types of plungers – and you need to choose the right one for your toilet?
Ask at your local DIY shop for the right model and then get to work: slowly push down on the plunger to produce a vacuum over the hole, then sharply pull the handle up to dislodge the clog. Make sure the toilet bowl has water in, or you won’t get the right effect. Repeat as needed to dislodge debris and clear the blockage.
This is the last step you should try before calling out a plumber. Only use this method if you’re sure the blockage is organic, not plastic or metal. Read the instructions carefully and be sure to take any necessary safety precautions.
Please note that if items not designed to be flushed down the toilet such as nappies or wipes are discovered as the cause of a blockage and you ask us to attend after you have tried all of the above methods to unblock the toilet you may be recharged for the call-out.
*Make sure the vinegar is completely flushed away before pouring bleach or any other chemical substance in to the sink.
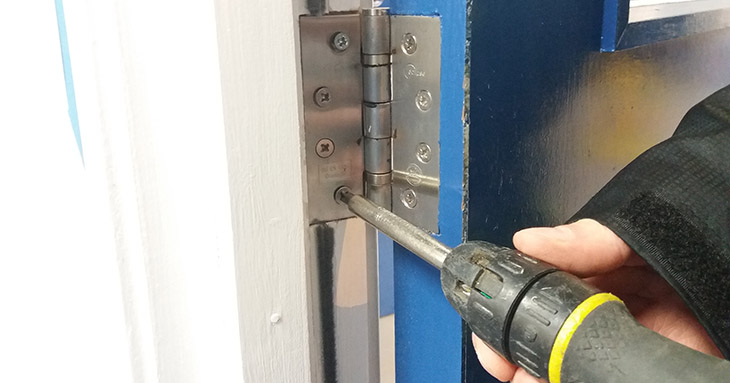
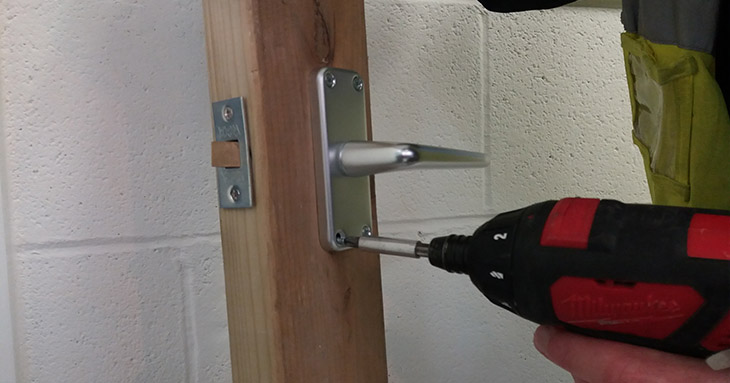
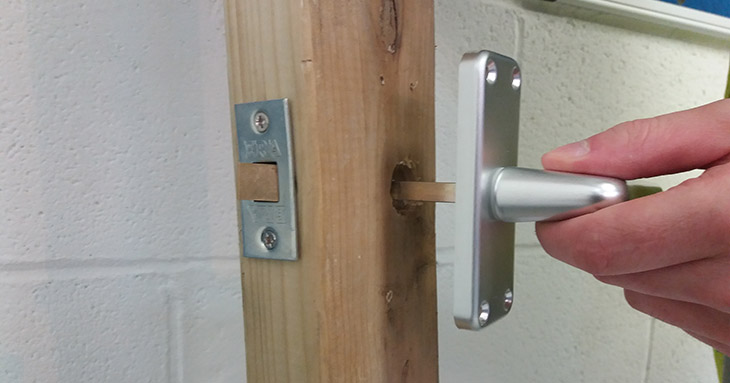
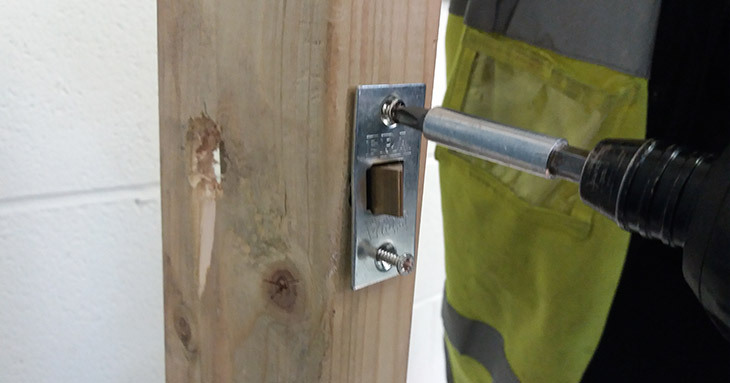
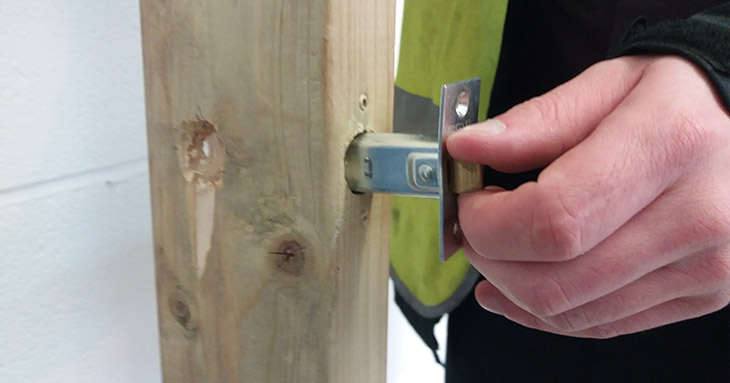
Painted doors can sometimes stick (usually because of a paint build up) or stop closing properly but you can fix these things yourself.
Sometimes door hinges are too shallow, causing the hinge leaves to bind. This is also easy to repair and can be completed within a matter of minutes.

A storage heater is wall-mounted and looks a bit like a radiator. It works by drawing electricity at night, and storing it as heat in a bank of clay or ceramic bricks to use the next day.
Storage heaters work best if the household is on an Economy 7 tariff. This is an arrangement with an energy supplier allowing you to access electricity at night at a cheaper rate than during the day “” typically a third of the price.
The hours of cheap electricity are normally 12 midnight until 7am in winter, and 01.00 to 08.00 in summer.
Night storage heater controls can be a bit confusing. Depending on your needs and circumstances your ideal settings might be different from the standard settings. Or they may change from day-to-day.
Watch our storage heater video guide.
Every storage heater has a set of simple controls. The input setting allows you to regulate the amount of heat stored at night – even though night-rate electricity is cheap, there’s no point paying for more than you need. If it’s not particularly cold, or you’ll be out of the house for most of the day so won’t need as much heat, set the input lower.
The controls have an output setting that allows you to control how much the storage heater gives off – allowing you to release it gradually, saving some for the evening.
Some storage heaters have a timer that gives you even more control over the output. So you can programme your heater to come on at a time that suits you, for example when you get up in the morning. Others include a control regulating the amount of charge the heater draws at night.
Some storage heaters have a ‘boost’ setting. This uses ‘peak-rate’ electricity directly from the mains, so should only be used if the stored heat has run out.
For information on home heating, including how to set the programmer on your electric panel heater, visit our home heating and environment advice page.
Reducing condensation in your home helps to prevent damp and mould from occurring. Everyday jobs around the house like washing and drying clothes, cooking, and bathing all release moisture into the air, and it’s when this moisture settles on a cold surface, such as a wall or window, that condensation is created. If this continues for a long period of time, it will eventually cause damp and mould will begin to grow.
To help our customers prevent condensation in their home, we’ve got a dedicated resource to help you keep your home moisture-free.
Shrinkage and small cracks to walls and woodwork are very common in new build properties as building materials dry out and settle and don’t represent a serious problem. Most can simply be filled and painted.
Keeping your home’s temperature even and well-ventilated will help, so don’t overheat the property if you can avoid it and open vents and windows whenever you can. Trickle vents should be open at the top of your windows.
For information on home heating, including how to set the programmer on your electric panel heater, visit:

